you’re a Windows Vista user, you’re probably familiar the eye catching graphics shown off on the box, and in some of their wallpapers/screensavers. In this tutorial, I’m going to show you how to create that effect yourself.
This Vista Lighting Effect, sometimes referred to as the Aurora Effect, can really transform an ordinary wallpaper to something extraordinary. What makes it even better is that it’s very easy to achieve. Just follow these simple steps!
Here Look the Final Image

Step 1
Before we can actually get started on the lighting effects, we need to create a background for the effect. We can’t simply use any background we choose, but rather create an appropriate canvas to begin with. Find a photograph to use as the basic palette for your background. It can be any image really… just make sure it has a lot of lights and darks in it. Alternatively, you can Download the Attached Photo Sample form the web and work with the same photograph I’ll be using. 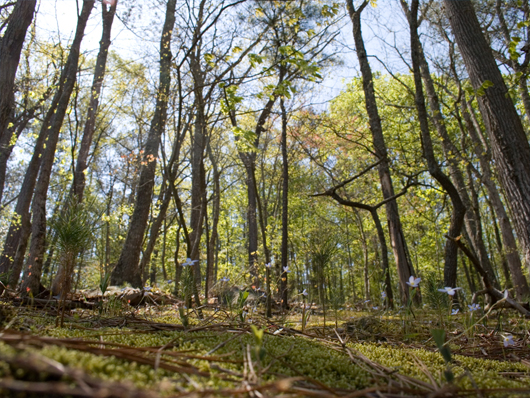
Step 2
From here, we need to apply a very strong Gaussian Blur to our Photograph. Go to Filter > Blur > Gaussian Blur, and bring the slider to something high. You really want to get rid of all the detail in the photo, and have all the colors mesh together. I applied a Gaussian Blur of 75.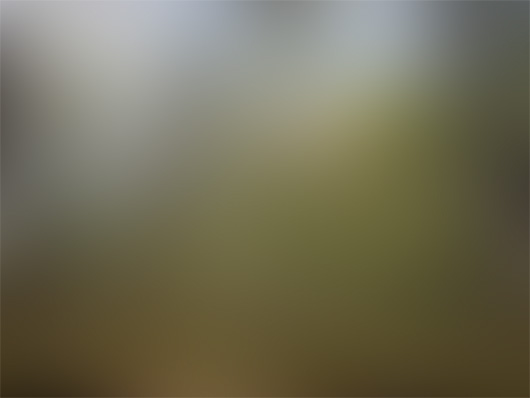
Step 3
Now we are going to drastically change our background by adding a Color Balance Adjustment Layer. To create this layer, go to Layer > New Adjustment Layer > Color Balance. A “New Layer” box may pop up, just click Ok through that. Next you’ll see 3 different sliders, as well as 3 separate ranges to choose from (Shadows, Midtones, and Highlights). At this point, it’s really just about experimenting with the sliders in each range until you find a suitable result. If you’re using the photograph I supplied, these were the values I used: Shadows: -37, -40, 7 Midtones: 15, 62, 0 Highlights: -34, 0, 69
Step 4
That’s it for the background. We’re done with it. You may choose to edit your Color Balance layer later on (just double click the icon next to it), but otherwise, we can move onto the effect. To begin, select the Elliptical Marquee Tool from your toolbar. Make a large selection, spanning all the way across your canvas. You may need to move your selection while making it in order to make such a large selection. If you need to do this, hold the spacbar while dragging your mouse (Don’t let go of the left mouse button). You should end up with a slightly curved selection that covers at least half the canvas.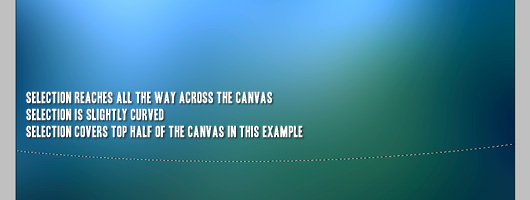
Step 5
Create a new Layer (Above the Adjustment Layer, mind you), and grab your Brush tool from the toolbar. Choose the default brush, and then modify the size to something large, such as 200-300, and set the hardness to 0. Choose White as your foreground color. This part may take some trial and error, but essentially, you are going to brush just the very inside of the selection you just made. Try to brush evenly across the whole selection.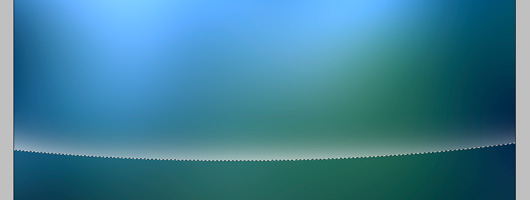
Step 6
Easy enough, huh? Set the blending mode of this layer to Overlay. Deselect everything (Ctrl + D or Select > Deselect). Now, transform this layer so that is is positioned near-vertically along the right side of the canvas. To transform, go to Edit > Free Transform, or Ctrl + T.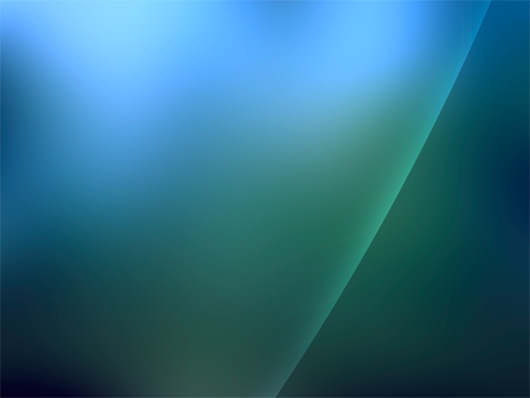
Step 7
Repeat steps 5 and 6 once or twice, and use smaller brush sizes (and possibly a larger brush size). Be sure to put each new band of light onto a new layer!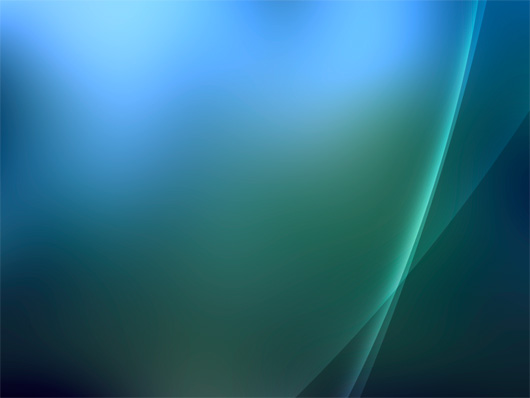
Step 8
Now that we have 2 or 3 different bands of light, we won’t need to make anymore of them. Instead, you can Duplicate the layers you’ve made, and Freely transform them to become new shapes. Remember, Ctrl + T to transform. You can get some interesting effects by holding the Alt, Ctrl, and Shift Keys while dragging the transformation nodes.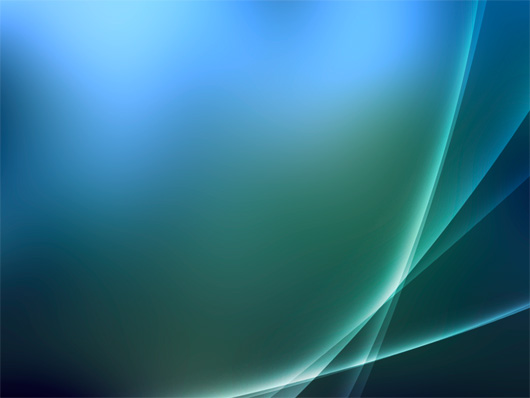
Step 9
That’s really all there is too it! For add effect, you can add some extra color into it using Color Balance Layers. In order to do this, Select several of your light layers (Ctrl + Shift + Click a Layer in the Layers Panel), and then add a new Color Balance Adjustment layer (Like we did in step 3). The Color Balance Adjustment layer will automatically create a layer mask so that it only gets applied over the selection you made. Just be sure that these new adjustment layers are on top of the lighting layers.Dwonload PSD of this Tutorial


0 comments:
Post a Comment